Teaching Kids to Ride a Bike: The Dad Method
Skip the running-behind-the-seat approach. Here's a faster, less frustrating way to get your kid riding solo — usually in a single afternoon.
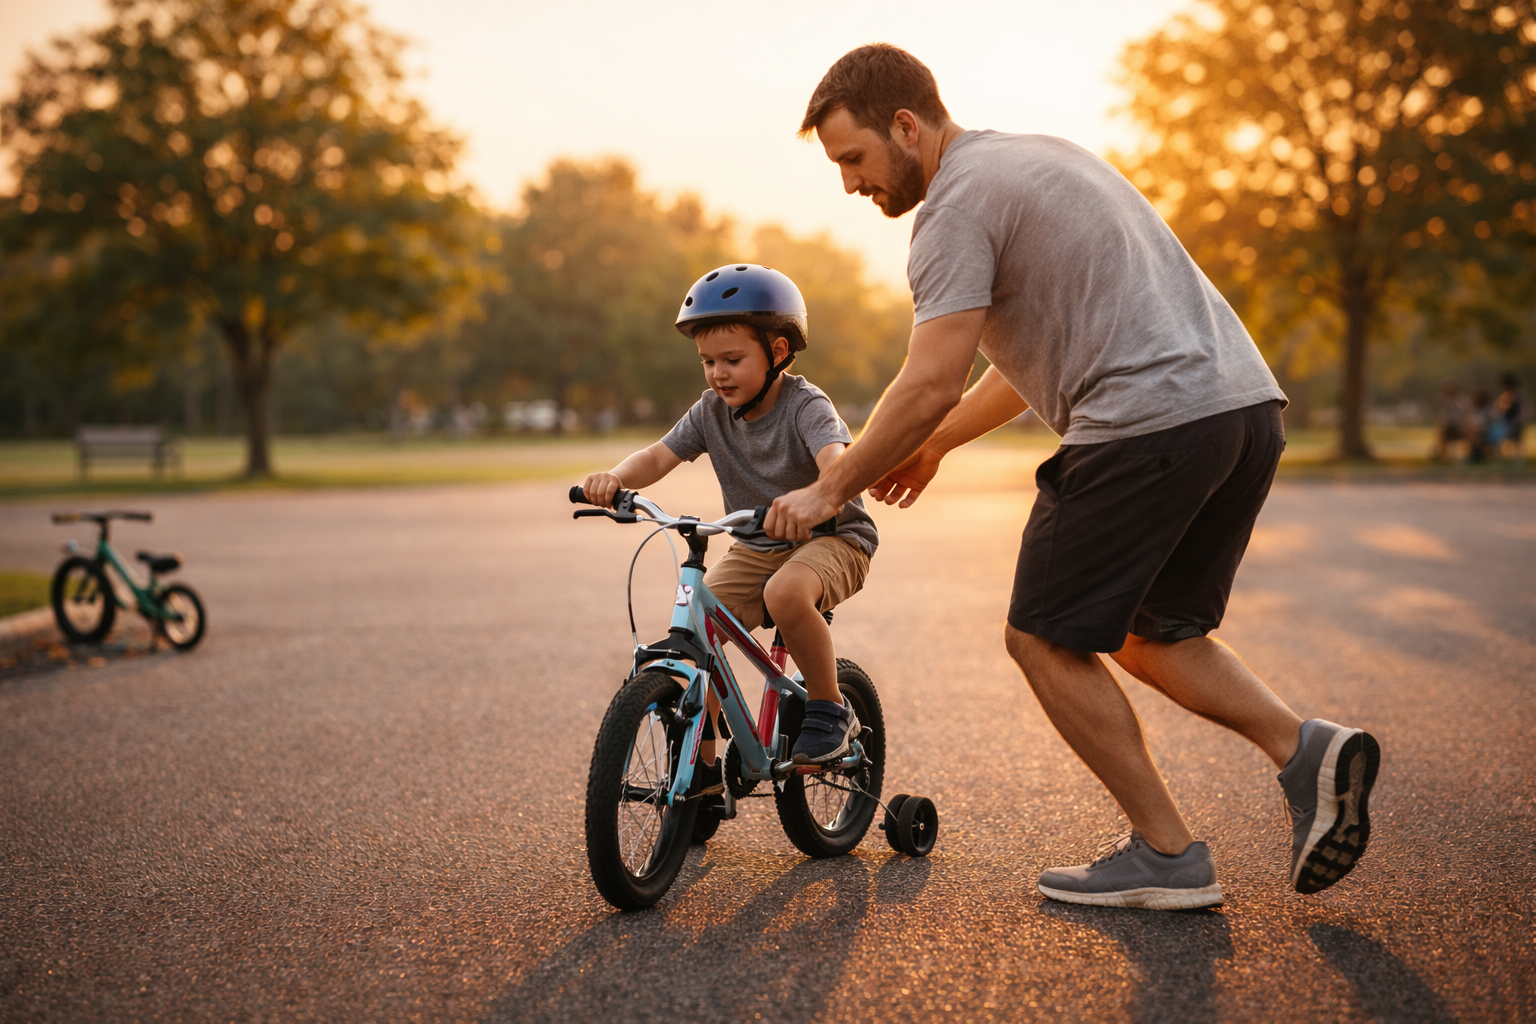
Teaching a kid to ride a bike is one of those dad moments that sounds simple and turns out to be a whole thing. You remember learning — sort of. You remember someone running behind you holding the seat. You assume that’s how it works.
There’s a better way. It’s faster, involves less back pain, and dramatically reduces the crying (theirs and yours).
Ditch the Training Wheels Earlier Than You Think
Training wheels teach kids to lean into turns incorrectly. A bike with training wheels doesn’t tip, so kids never learn to balance — they just learn to pedal. Then when the training wheels come off, they have to unlearn the lean and start over. It’s why the “training wheels → two wheels” transition is so rough.
Better approach: skip straight to balance work, or if your kid is already on training wheels, take them off when you start this process.
The Balance Bike Method (Works at Any Age)
The fastest way to teach a kid to ride is to separate balancing from pedaling. Balance bikes — those pedal-free bikes where kids scoot with their feet — are designed around this idea. But you don’t need to buy one.
Lower the seat so both feet sit flat on the ground. Remove the pedals. Now you have a balance bike for free.
Let them scoot around like that for a session or two. The goal is getting comfortable gliding — feet up, coasting, not touching the ground. When they can glide for 5–10 feet with feet up and feel calm about it, they’re ready to add pedaling back.
Removing pedals: The left pedal (non-drive side) is reverse-threaded — turn it clockwise to remove. The right pedal is standard — counterclockwise. You’ll need a 15mm wrench or pedal wrench. Put the pedals somewhere you won’t lose them.
Age and Bike Fit Matter More Than Technique
The number one reason kids struggle to learn is a bike that doesn’t fit. If a kid can’t comfortably reach the ground, they’re scared. If the bike is too small, they’re cramped and can’t pedal properly.
General sizing by inseam:
- 14–16 inch wheels: Inseam 14–17 inches, roughly ages 3–5
- 20 inch wheels: Inseam 18–22 inches, roughly ages 5–8
- 24 inch wheels: Inseam 22–25 inches, roughly ages 8–11
Seat height should let the kid have a slight bend in the knee at the bottom of the pedal stroke — but when you’re teaching, lower it until feet are flat on the ground. Raise it back to riding position once they’re balancing confidently.
Also: check that the brakes actually work and that the kid can squeeze them. A lot of hand-me-down bikes have brakes that are loose, sticky, or sized for adult hands.
Pick the Right Location
Flat and smooth is obvious. But slightly downhill is actually better than flat for the gliding phase — a gentle slope lets them feel momentum without having to push hard. A quiet parking lot with a mild grade, an empty driveway, or a gentle grassy slope all work.
Avoid grass for the pedaling phase. It’s slow and frustrating. Pavement or a hard path is the right surface once they’re actually riding.
The Teaching Sequence
Session 1: Scooting and gliding
Bike in balance-bike mode (no pedals, seat low). Have them scoot around. Encourage longer and longer glides — challenge them to lift their feet and count to three, then five. Don’t rush this part. When they can glide comfortably and steer a bit while coasting, you’re done for the day.
This can happen in 20 minutes or it can take a couple of days. Either is fine.
Session 2: Pedaling
Put the pedals back on. Keep the seat low for now. Show them the “power position” — dominant foot at the 2 o’clock position on the crank before they push off. This gives them a strong first stroke and gets the bike moving before they have to balance.
The sequence: power position → push down hard → lift feet to the pedals → pedal.
Have them practice the push-off a few times standing still. Then let them try it rolling. If they wobble and put a foot down, that’s fine — just practice the push-off again.
Your job during this phase: Stand to the side, not behind. If you hold anything, hold the back of the shirt or the shoulder — not the seat. You want to be able to let go without them noticing. The second they feel you let go is often the second they tense up and fall, so the goal is a clean, quiet release when they’ve got momentum.
Don’t run alongside for long. A few steps to get them started is fine. If you’re jogging next to them every run, they’re relying on your presence, not their balance.
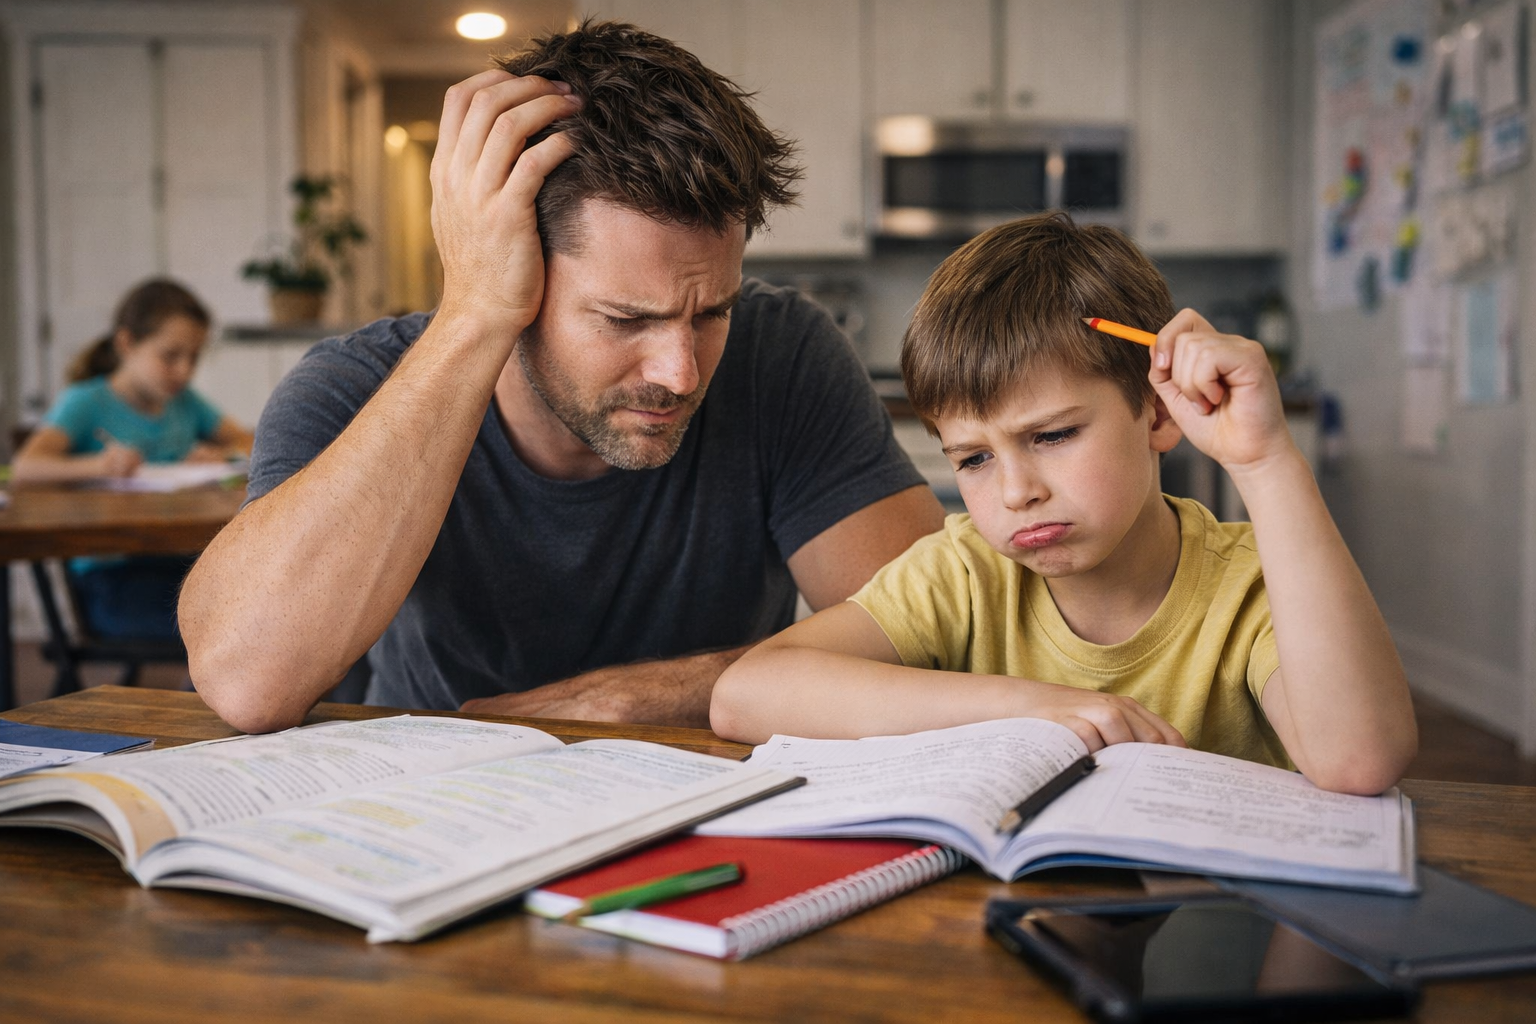
When They Fall
They will fall. Gear them appropriately — helmet always, knee pads if they’re worried about it. Wrist guards are worth it for nervous kids.
When they fall, the most useful thing you can say is almost nothing. “You okay? Good. Let’s go again.” Don’t over-praise small runs and don’t make falling a big deal. Matter-of-fact keeps their confidence up better than a big reaction in either direction.
If they get frustrated and want to stop, stop. Come back tomorrow. Forcing it through a meltdown sets things back.
The Moment It Clicks
There’s a specific moment in almost every kid’s learning process where it just works. They get 10 feet, then 20, then they’re going and they don’t notice they’re going and then they look up and realize it and the look on their face is one of the better things you’ll see as a dad.
The whole process — done this way — usually takes one afternoon or two short sessions. Some kids get it in 45 minutes. A few take a week of 20-minute sessions. Neither is a reflection of anything except where they are developmentally.
A Few Things That Help
- Lower the bike more than you think. Seriously. Both feet flat.
- Helmet fit: Two fingers above the eyebrows, straps form a V under the ears, snug under the chin. A helmet that wobbles doesn’t protect.
- Let them steer. Resist the urge to guide the handlebars. Their instincts will correct better than your hand.
- Brake practice early. Before they’re going fast, make sure they know which brake is which and can stop intentionally. Getting comfortable with braking early prevents the panicked bail-out crashes.
After They’ve Got It
Once they’re riding, raise the seat to proper riding height and work on:
- Starting and stopping on their own, without a push
- Looking up while riding instead of at the ground
- Turning — big wide arcs first, then tighter
- Signaling and road awareness if they’ll be riding anywhere near traffic
The first ride is the milestone. Everything after that is just more riding.

Written by
Chris Bysocki
Dad of two (a 6-year-old daughter and a 3-year-old son), homeowner, and guy who learns most things the hard way. Writing about parenting, tools, yard work, and gear from a neighborhood in the real world.
More in this category
Ask Chris
Got a question about this topic — or anything dad-related? Send it over. I read every one.