
How to Back Carry Your Baby: A Step-by-Step for Dads
Back carrying changes everything once your kid hits toddler stage. Here's how to do it safely and which carriers make it easiest.
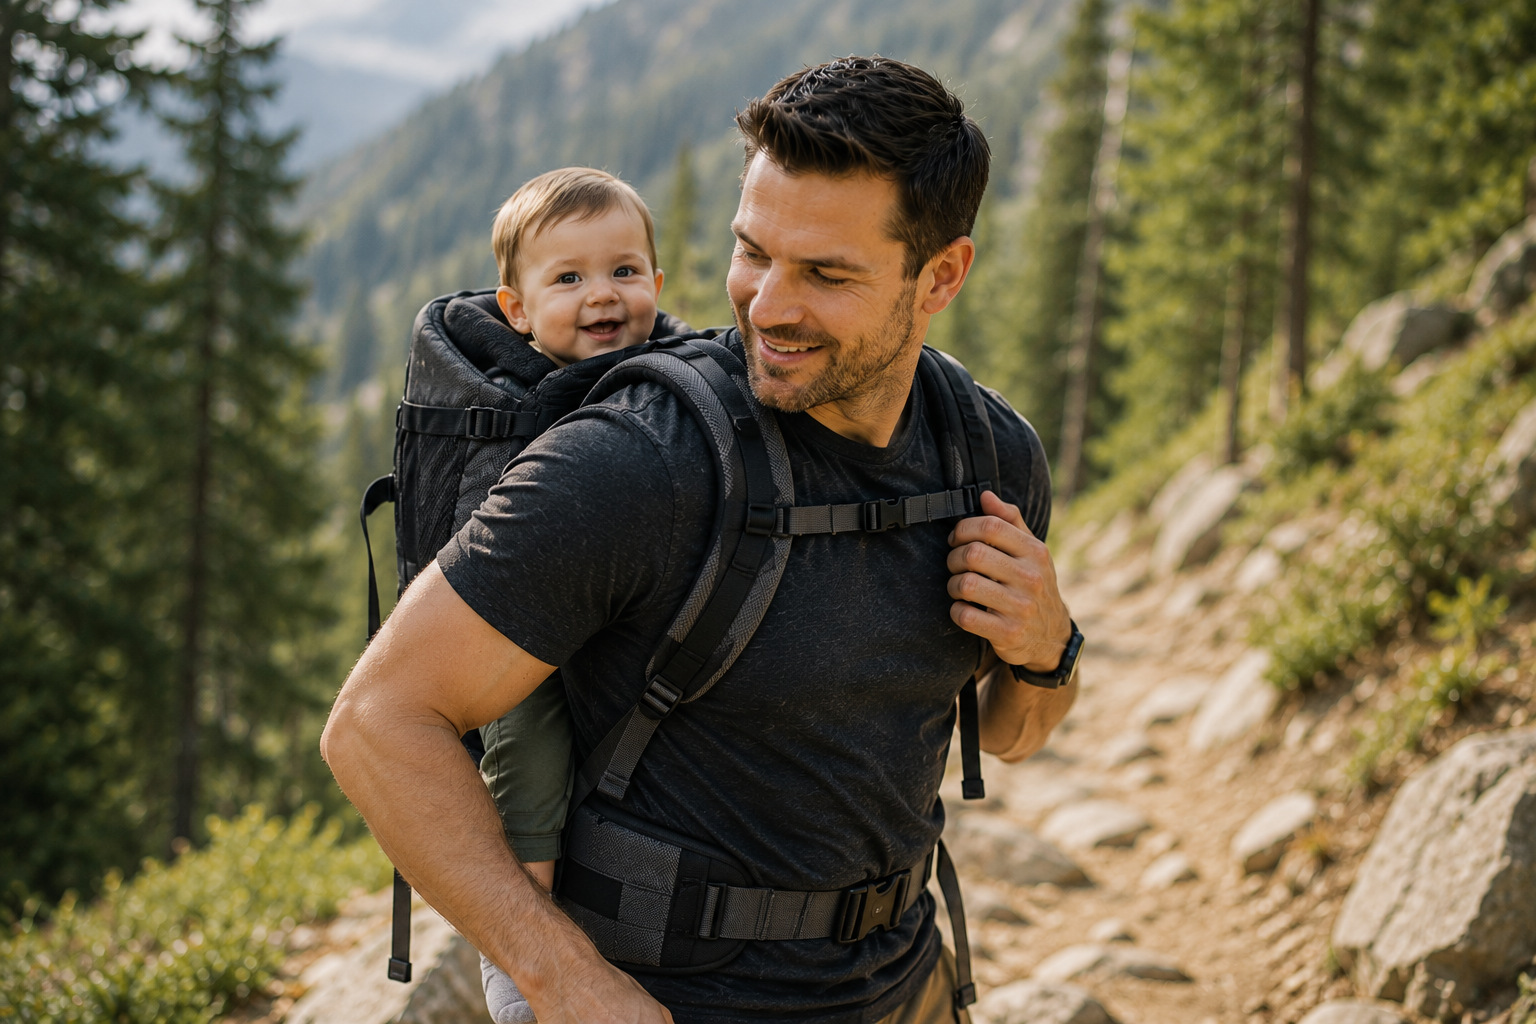
Front carrying a baby works great until it doesn’t. Somewhere around twelve to fourteen months, the baby gets heavy enough and squirmy enough that having them strapped to your chest starts to feel like carrying a bag of groceries that won’t stop grabbing your face. Back carrying solves most of this. The weight distribution is better, your center of gravity is better, and the baby actually stays put more comfortably.
Here’s how to make the switch.
When to Start Back Carrying
The general guideline is that the baby needs solid head and trunk control before going on your back. Most kids hit this around six months for supported back carries, and most dads make the switch more practically around twelve to eighteen months when front carrying gets genuinely uncomfortable.
If you’re unsure, watch your kid sitting independently. If they can sit up without support, hold their head steady, and right themselves when they lean, they have the trunk control for a back carry. If they’re still wobbly, stay with front carries.
The Two Methods for Getting the Baby on Your Back
There’s the hip scoot and there’s the Superman toss. Most dads who do this regularly end up using the hip scoot because it keeps control throughout the process.
Hip scoot: Start with the carrier loosened at the shoulders. Put the baby on your hip, facing forward. Slide them around to your back while you lean slightly forward, using one arm to support their weight from underneath as you guide them into position. Once they’re centered on your back, reach back and clip or buckle the carrier while leaning forward to keep them in place. Then adjust the straps.
Superman toss (for older, more cooperative toddlers): Hold the carrier panel in front of you. Swing the baby up and over your shoulder in one motion, landing them on your back. This one looks impressive when it works. It’s a two-person job until you’ve done it about fifty times.
Practice over a bed or couch first. Seriously.
Carrier Settings for Back Carrying
Your carrier’s settings for back carrying are usually different from the front carry settings, and most people don’t adjust this correctly the first few times.
The waistband should sit higher on your back than on a front carry, at or above your natural waist rather than at your hips. This positions the baby higher on your back, closer to your center of gravity.
Shoulder straps need to come over your shoulders and cross your back. Some carriers have a specific strap configuration for back carries, with buckles you can reach behind your back to clip. Practice the reach before you have the baby on your back.
The baby’s knees should still be higher than their hips in the carrier seat. The ergonomic M-position matters as much in back carries as in front carries.
Carriers That Handle Back Carrying Well
Not all structured carriers are equally easy to back carry in. The ease-of-loading and the ability to reach the buckles solo makes a big practical difference.
The Ergobaby Omni 360 has chest and shoulder straps you can reach behind your back without a second person. It’s one of the more solo-friendly carriers for back carries.
The LILLEbaby Complete has a longer torso panel which positions the baby well on a taller back. It also has an ergonomic cross-strap option that works well for back carrying on broader shoulders.
The Tula Explore has buckles designed for easier solo back loading. The brand also has a solid library of video guides specifically for back carries, which is worth bookmarking.
For toddlers over twenty pounds, look at the toddler-specific versions of these carriers. They have wider seats and taller panels that keep an older kid properly positioned instead of perching them awkwardly on a standard-size carrier.
Safety Things That Actually Matter
Never back carry when you can’t see the baby’s face. Use a mirror or have someone check regularly on long carries. Babies can slump in a back carrier when they fall asleep, especially in a narrow-paneled carrier, and the airway can be compromised.
The “kiss test” applies to back carries too. If you were front carrying, you should be able to kiss the top of the baby’s head without craning. On a back carry, you should be able to reach back and feel their head easily, confirming they’re positioned upright and not slumped.
Don’t back carry in a carrier that doesn’t fit correctly. A carrier that was borderline okay for front carries can become genuinely unsafe when the baby is on your back and you can’t see or feel what’s happening.
The Short Version
Start back carrying when your kid has solid trunk control, usually around twelve to eighteen months in practice. Use the hip scoot method to load solo. Set the waistband high, confirm the M-position, and make sure the shoulder buckles are reachable behind your back. Ergobaby Omni 360, LILLEbaby Complete, and Tula Explore are the three I’d recommend for solo back carrying.

Written by
Chris Bysocki
Dad of two (a 6-year-old daughter and a 3-year-old son), homeowner, and guy who learns most things the hard way. Writing about parenting, tools, yard work, and gear from a neighborhood in the real world.
More in this category


Ask Chris
Got a question about this topic — or anything dad-related? Send it over. I read every one.